Create Chatbot Shopping
In this guide, I will explain how to generate a Shopping API (similar to JSON API) to create and manage orders automatically using your Chatbot. This tutorial includes the following functions:
- Add shopping cart (ADD TO CART).
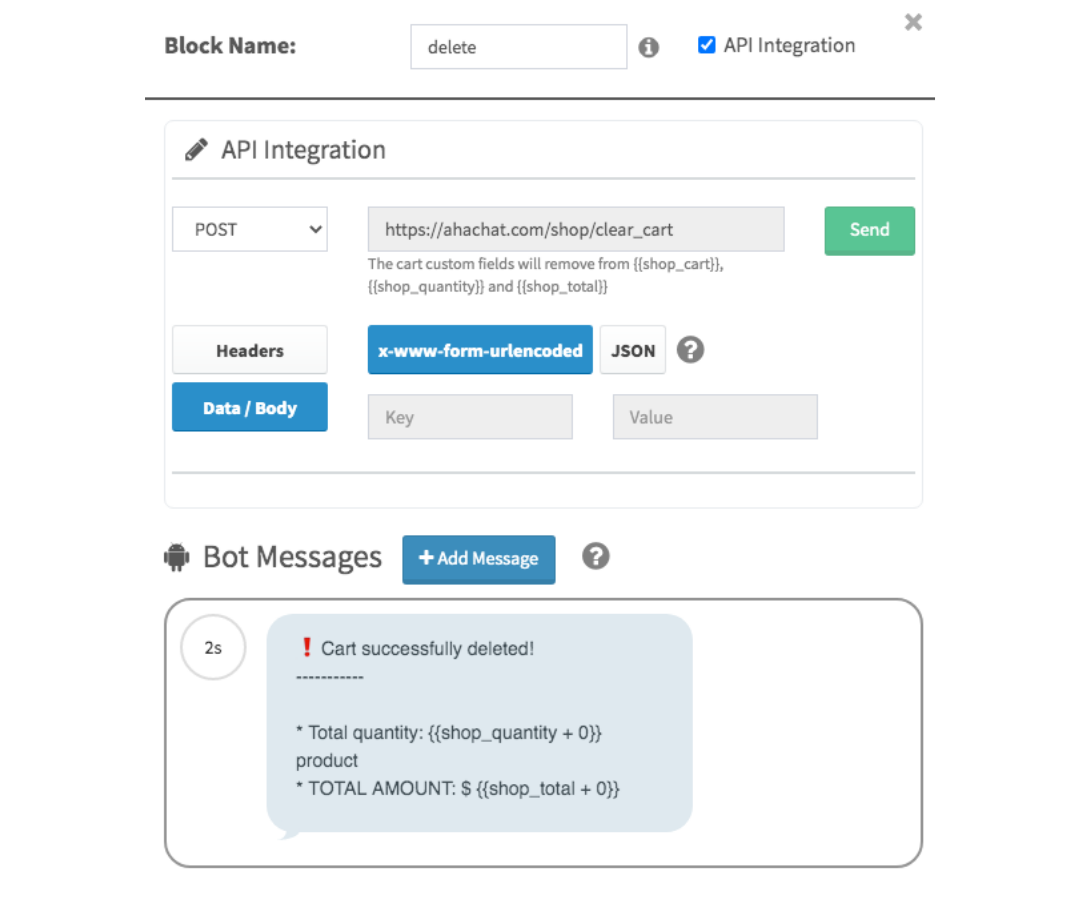
- Delete shopping cart (CLEAR CART).
- Create an order (CREATE ORDER).
- Order cancellation (CANCEL ORDER).

The steps to create a complete flow are as follows:
1. Copy Sample Script
This Shopping Script consists of 10 blocks including: 7 Conversation Blocks and 3 JSON API blocks (add cart, delete cart, and order). If you want to understand more about JSON API, then simply check out this tutorial.
You can also copy the sample script here to save time:
https://app.ahachat.com/share-story-to-bot/6b7713e36e9992c0c062154a67377891v5kprsmgm8688532

2. Fix Block Content
Step 1: Edit the customer greeting block
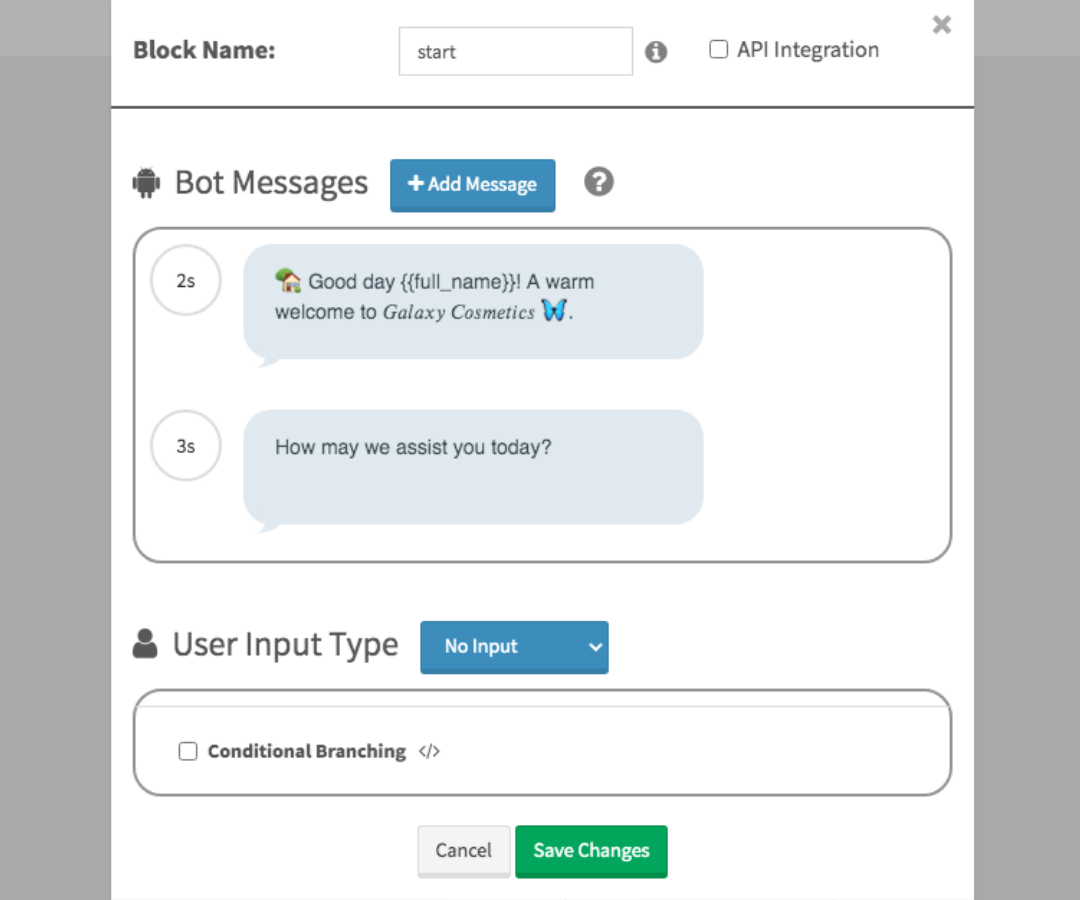
Note that in this step, I set the User Input Type to No Input so it will automatically proceed to the next block.
Step 2: Edit the block displaying the product category

Each category can have multiple sub-products in it with different prices and specifications.
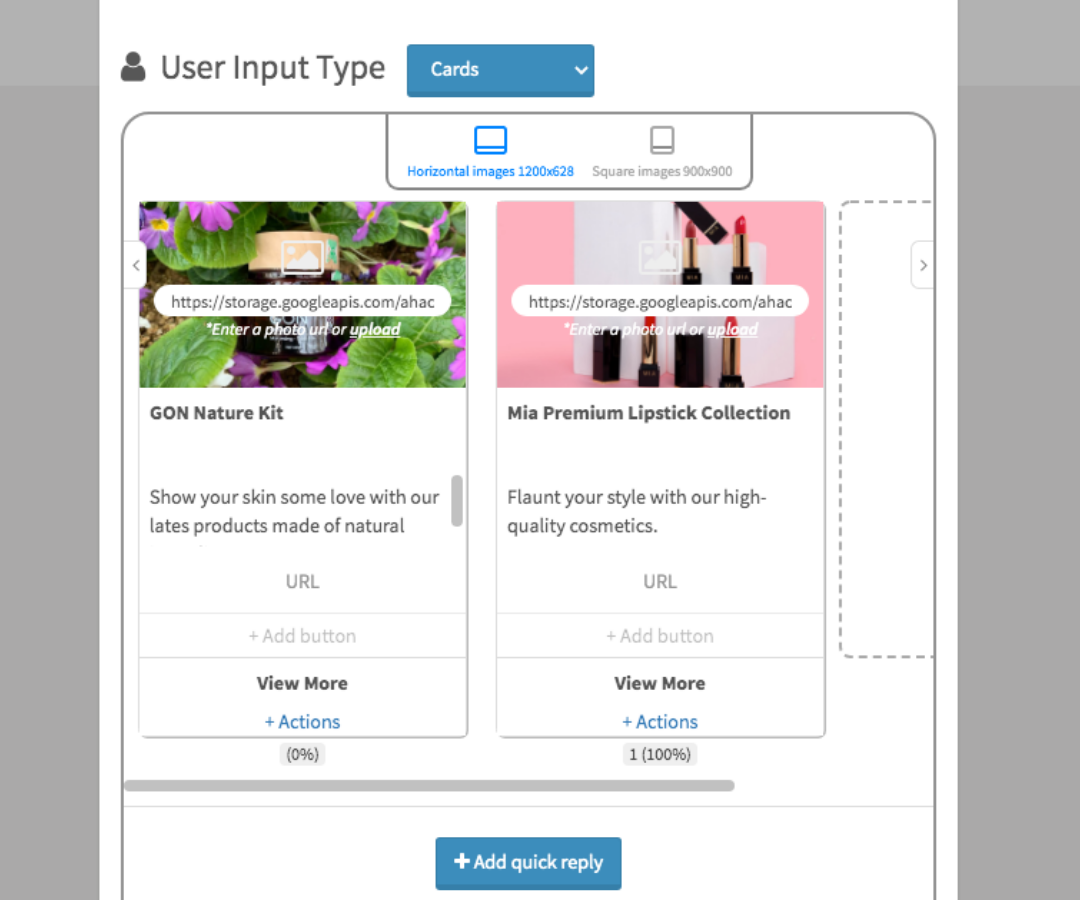
Step 3: Edit the block showing products for sale
Before creating this block, you must create 2 attributes in the Audience menu, ‘product’ (text type) and ‘price’ (numeric type).

Next, create the product_list block as shown below:

Note that for each button, you should write an “Add to Cart” / ”Select” button. We will then assign 2 actions: Save the product attribute with the product name, and save the price attribute with the product price.
Step 4: Edit the block to select the number of products
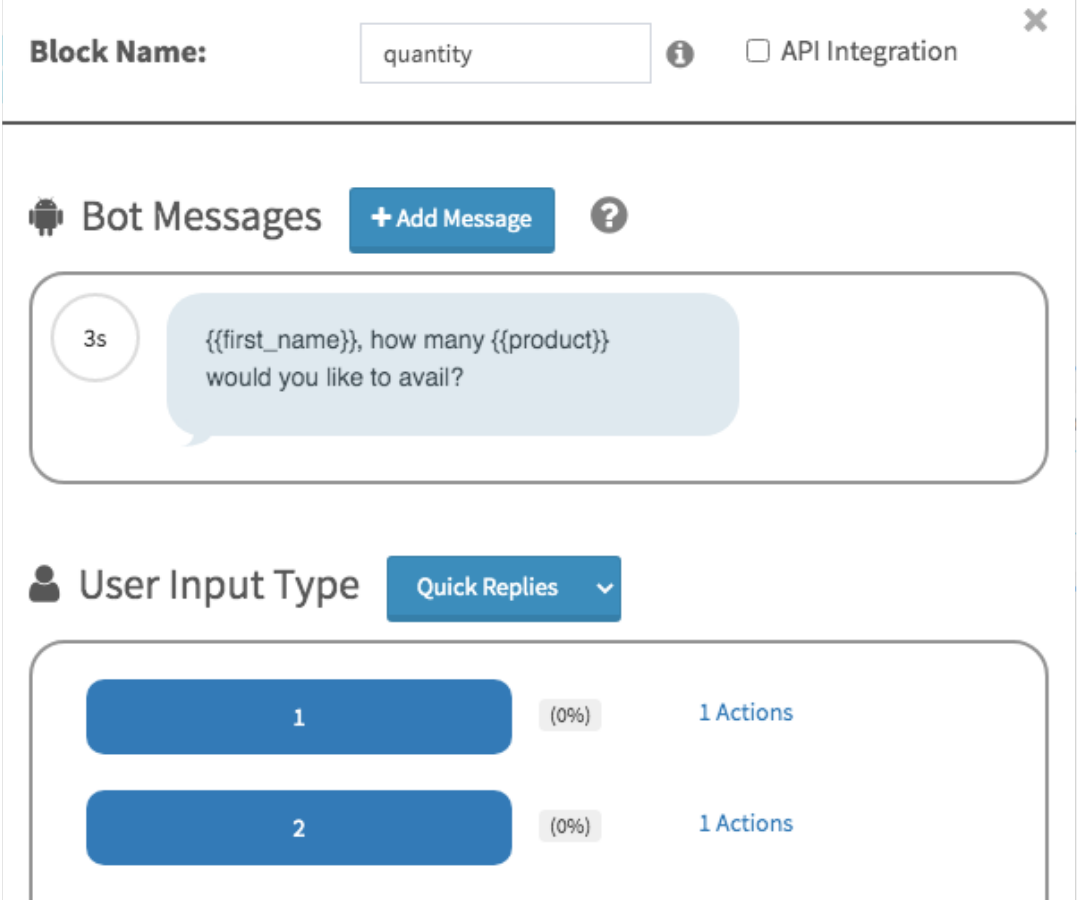

Please take note to tick the box of "Input Validation" so customers can choose the quantity of products as number type.
Step 5: Set API to Add to Cart
Click on the POST drop down button and select ADD TO CART. The API parameters will be filled in automatically.

Next, enter the parameters on the Value column and the {{product}}, {{price}} and user input {{ursp.quantity}} (simply use this format: {{ursp.block_name}}.
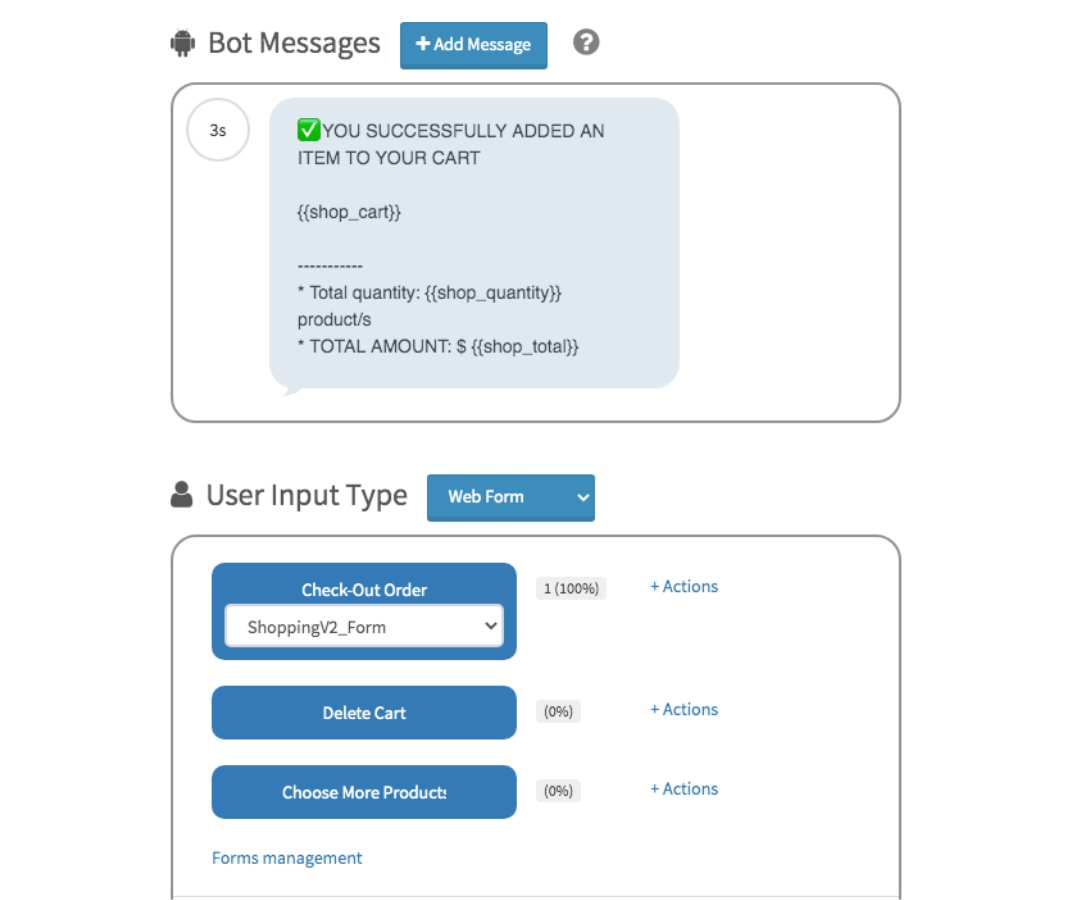
Here, we can use the Webform Input in receiving information by creating one in the Growth menu. It collects delivery information such as name, phone number, address. If you don’t know how to create, read the instructions here. After the customer completes the form, they will move to Step 7. If the customer chooses to Delete Cart, they will be redirected to Step 8.
Step 6: Confirm the information that guests have entered in the form again
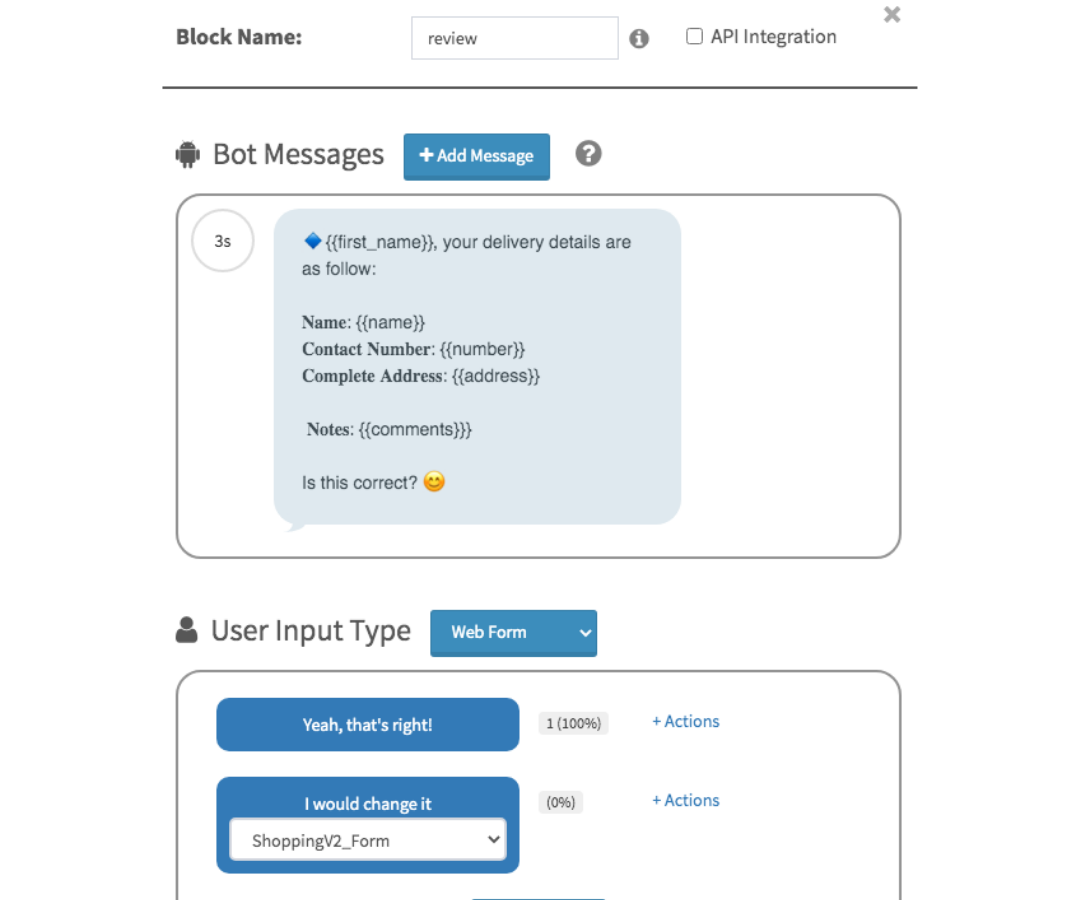
If it is correct, they will be moved to the Order block. If wrong, the form to re-enter will be displayed again.
Step 7: Check whether the goods are in the basket

If {{shop_cart}} is not empty, it means that there are already contents in the basket. It will then continue to Step 8.
Step 8: If the stock is available, set the Order API


Step 9: Save all information to Google Sheet
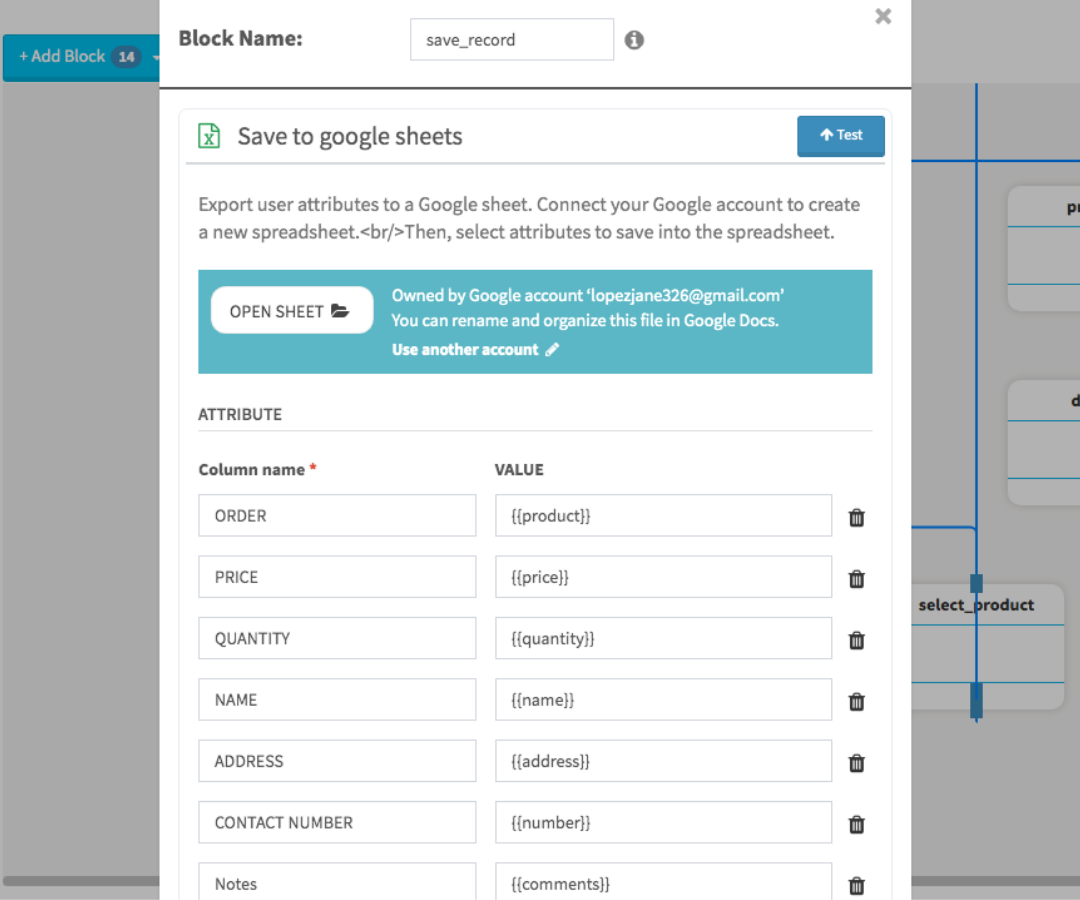
Save customer and order information on sheet.
Step 10: Set the Remove Cart API
Note: If you want to allow customers to request cancellation, you can use the API CANCEL ORDER (similar to CREATE ORDER).
Last step: View Order List at Menu Settings> Shopping

There are 2 boxes to notify the customer when the bot owner updates Delivery, Completed and Canceled status. If you do not want to send this message, please remember to delete the content.