Live Chat
Overview
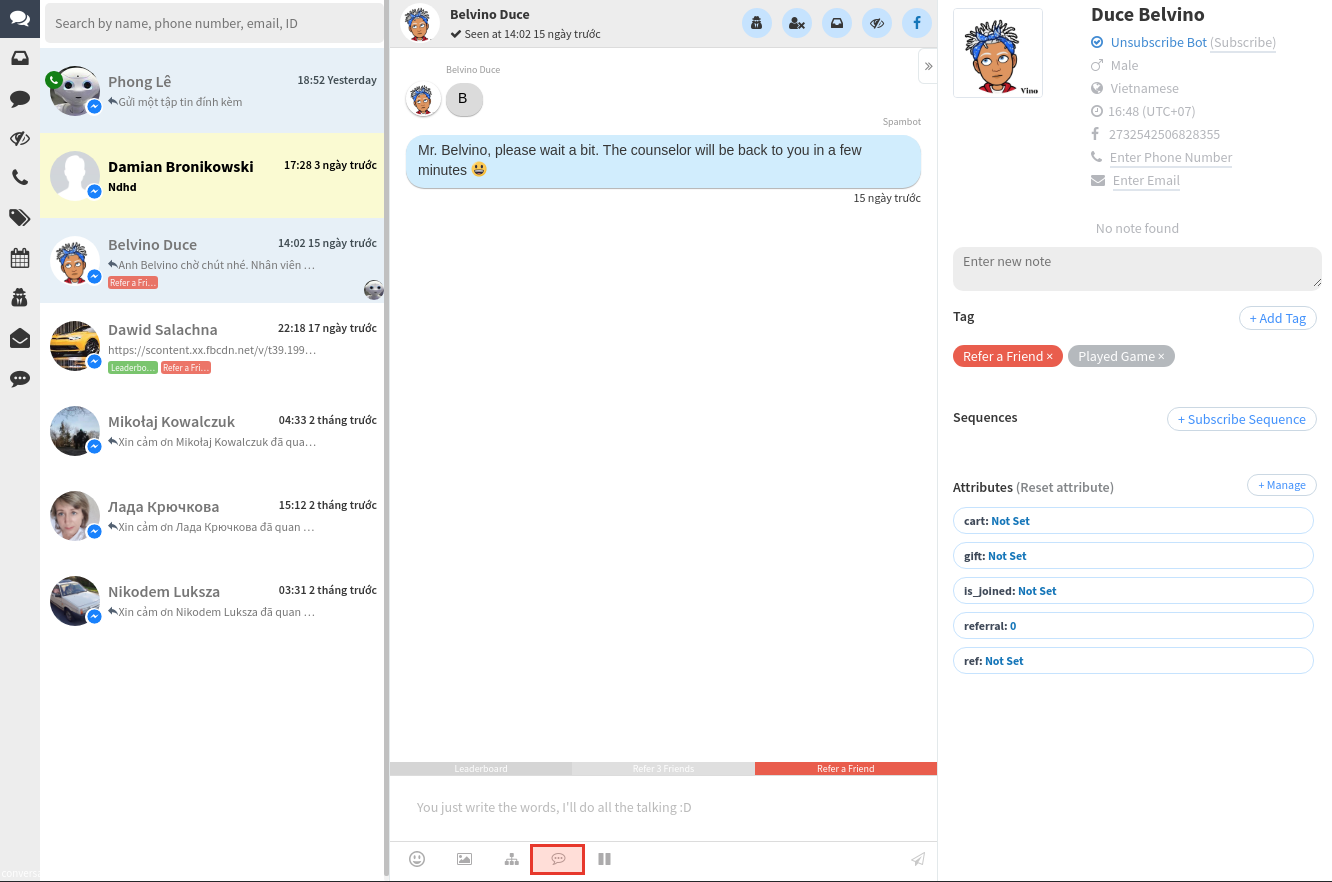
Live Chat Section consists of three columns: the list of your subscribers, omni-channel conversation and user panel. The page icon nearby allows you to see assigned conversations (in case it was assigned to you, you will see it there as well as your teammates' assigned conversations).
You can switch between Inbox and Comment conversations with the sidebar menu under the Live Chat header and sort them (Newest/Oldest). Select the desired subscriber to see the conversation.
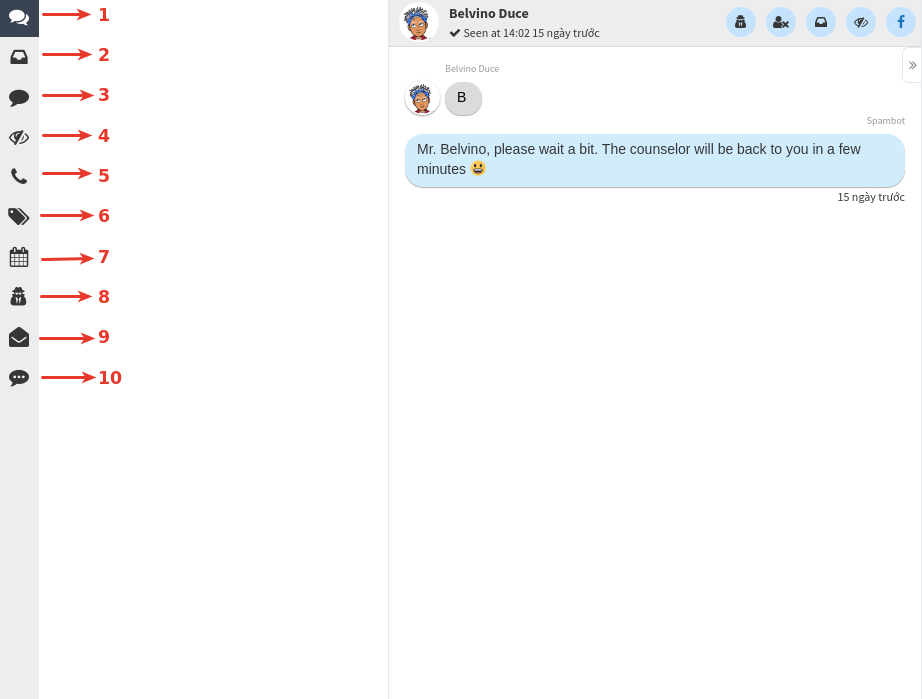
- See all private inboxes and comment
- See private inboxes
- See comments
- See all unread conversations
- See all conversations that had phone numbers
- Filter conversations by Tags
- Filter conversations by range date
- Filter conversations by assigned employee
- Filter not answered conversations yet
- Filter conversations that stopped bot
In the middle column you'll find the conversation itself. You can assign it to someone and reopen it in case it was closed. Your bot messages are marked with the bot icon and can be hidden with the icon on the top. This allows you to find all the messages sent by page admins.
In the right column (User Panel) you can see all the information your bot collected during all past conversations and it allows you to:
- See user's information (profile picture, full name, status, gender, language, timezone)
- See all channels history (Messenger)
- Manage Tags
- Subscribe and unsubscribe from Sequences
- See how a certain subscriber opted in
- Manage User Attributes values
- Unsubscribe this user, download and delete their data

Threads
By default, threads are displayed according to the time of the last message from the user - you'll find the latest dialogues with recent activity on top and earlier ones will be placed below. Every time you reply to the user, the conversation will be automatically moved to the top of the list. Timestamps indicate the time of the last message that was manually sent by the user. If the user did not write anything to the page, just clicking buttons in the bot's flows - there will be no timestamp at all; these dialogues will be displayed under conversations with manual activity from users:

- Time of latest conversation with user
- Lastest message from user
- User's messages
- Bot's messages
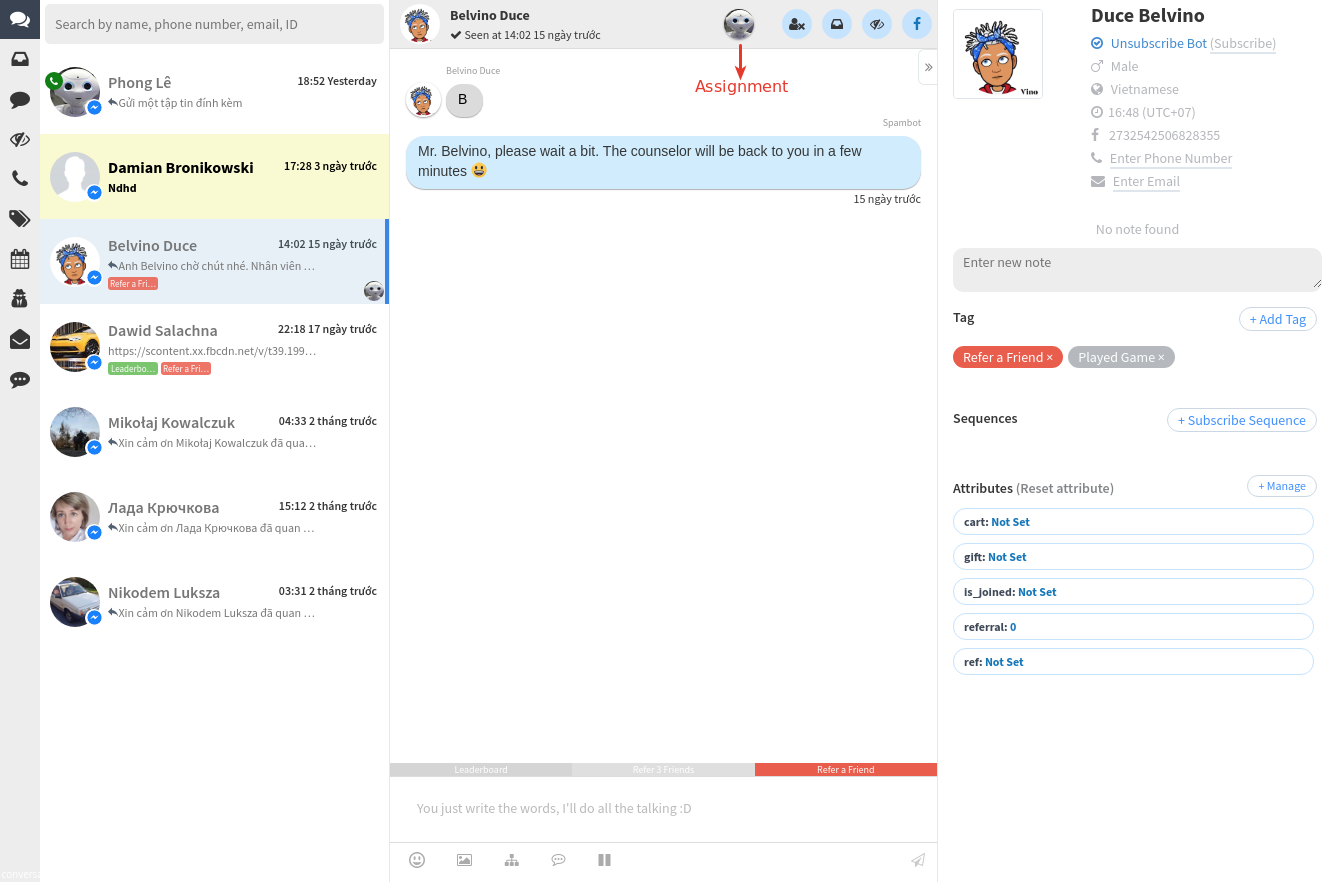
Assignments
Use the drop-down menu as shown below to assign the conversation to yourself or to one of your teammates (use the same menu to unassigned it). You can track all the assignments in a drop-down menu next to the Section header on the top-left.
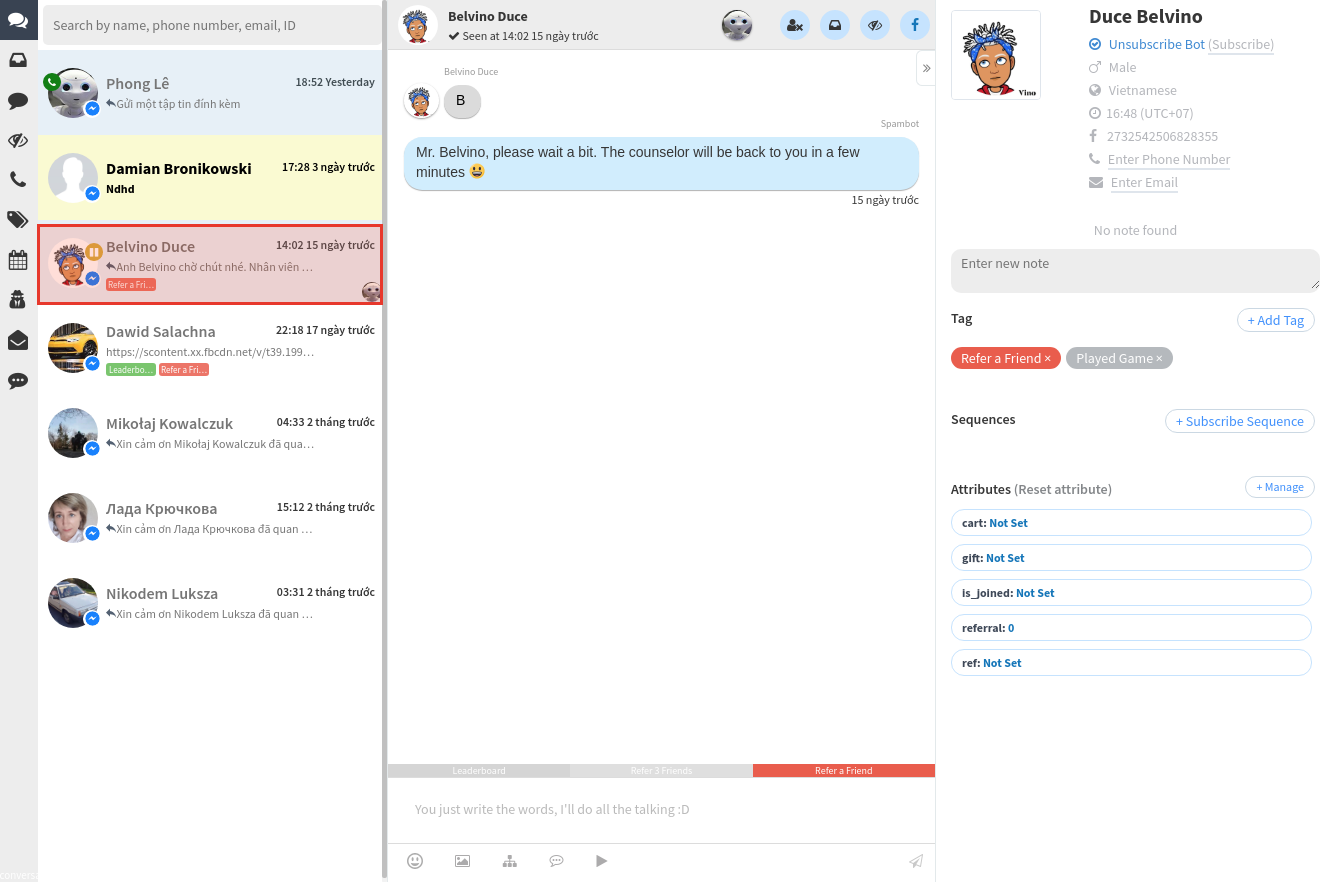
Pause Automation
This option allows you to stop all bot messages while you communicate with your subscriber. As soon as you message them back, 24 hours pause is activated and your subscriber will only receive manually sent messages from an admin for 24 hours. Keywords won't be triggered during this period. When the pause is on, you will see the pause icon on the subscriber's profile picture in the conversations list and you will be able to increase the pause duration or disable it whenever you want in the User Panel.
Also, when the Pause is enabled, if the user was in the Flow at the time, all the messages will be sent to the end of the Flow or the closest interruption: for example, Delay or Smart Delay. In the cases if the Delay is activated during the time of Pause Automation or even before it, the messages following the Delay will be sent only at the end of Pause Automation.
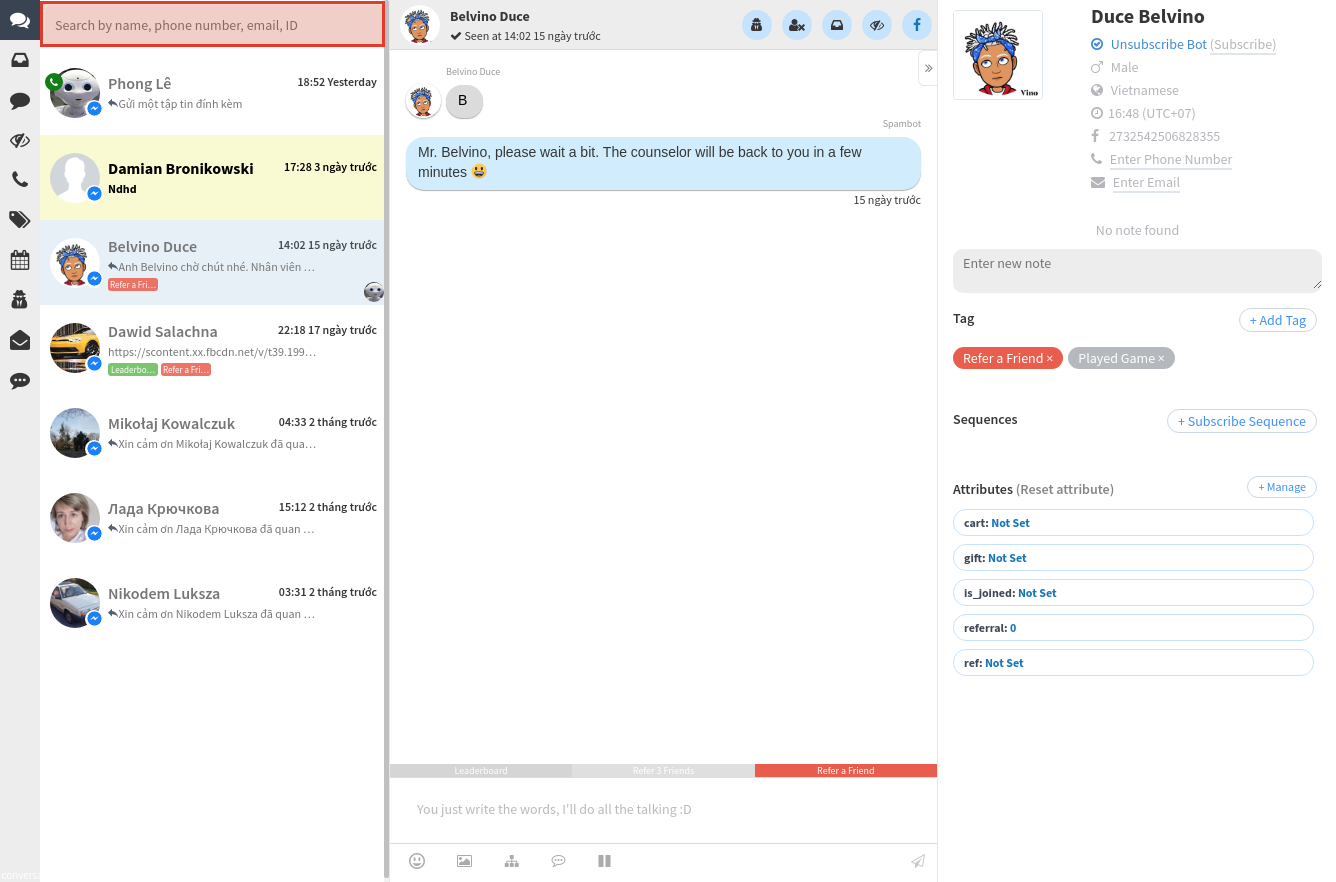
Search
Thousands of threads are not a problem, you can search through all the conversations and jump in the desired message to see the details. 2 symbols are quite enough to start searching. Unfortunately, special symbols are not included (you won’t be able to use $, &, %, etc.).
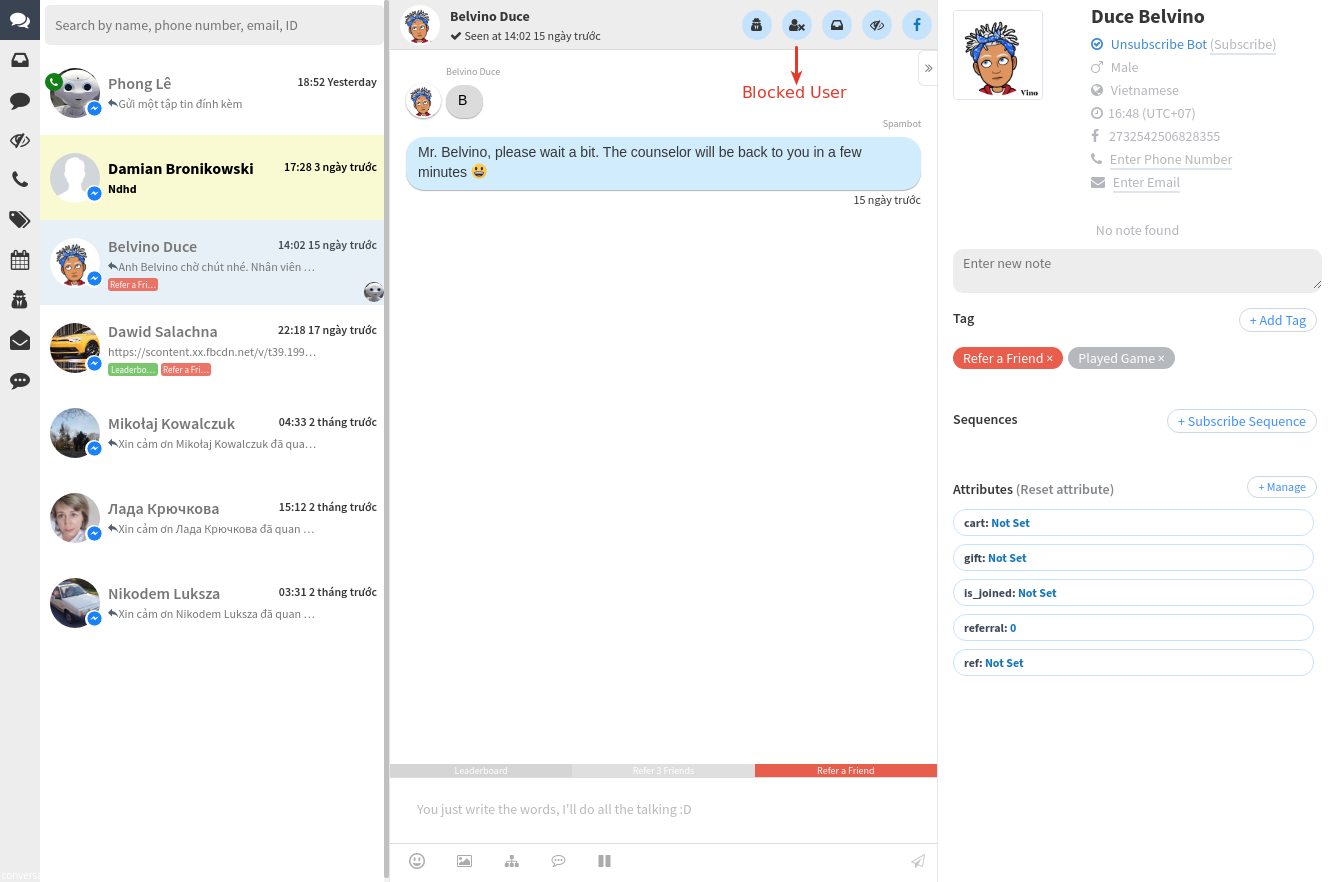
Blocked User
The are notes that will appear to help you manually block your subscribers, then they can not send spam messages to your Page more.
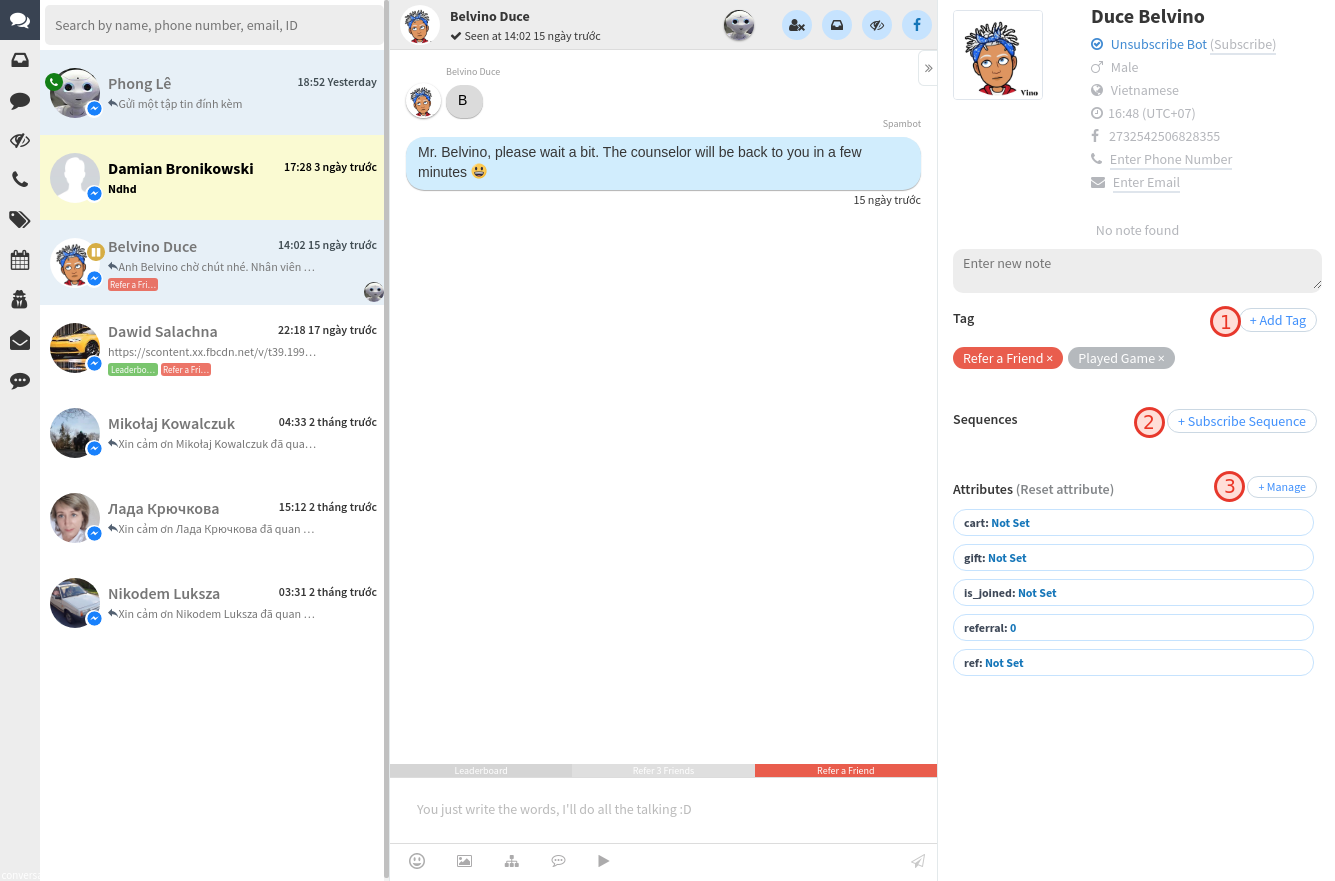
Add Tags, Subscribe Sequences and Manage Attributes
This feature is made to help you personalize subscribers.
Send Flow
This feature lets you send a specific Flow to the subscriber without having to create additional automations. To do that, just click ‘Send Flow’ icon at the bottom of the conversation, then select a Flow and click ‘Send This Flow’:

Once the Flow is sent, you will see a ‘Flow sent’ system message with the flow’s name in the subscriber’s conversation:

Snippet
The Snippets are pre-populated answers you can send to your subscribers in the Live Chat with just one click. This is perfect for answering frequently asked questions you already have replies to and don't want to spend time typing the same information again and again.
To set up a Snippet, head to Snippets Icon and look at to the 'Snippet' section. In there, click '+New Snippet'; you'll have to specify the Shortcut, which is also the name of your Snippet, and the text of the snippet itself. You'll be able to edit the Snippet here later of course.
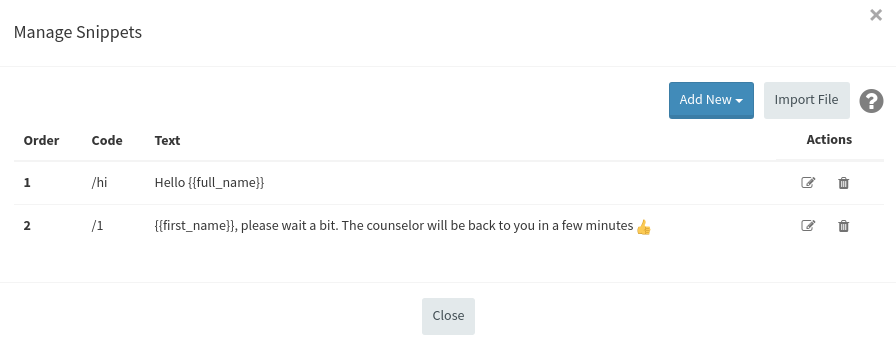
Once the Snippets are created, you'll see them in the conversations with your subscribers. Simply click on the needed Snippet and its content will be automatically added into the text input field. The only thing left to do now is for you to hit 'Send'! :)