Send Email
Did you know that Gmail also offers a free SMTP server? Well, it is true, and it is a very little-known feature of Gmail, which allows you to integrate Google’s SMTP server settings with your bot and send outgoing emails from without having to manage your outgoing email server. Those outgoing emails are maybe part of the email marketing campaigns or transactional emails such as password reset emails, order confirmation emails, user registration emails, etc. These external SMTP services like Gmail, Elastic Email, SendGrid, Mailgun maximize the deliverability of emails and are considered more reliable than the emails dispatching from your cloud server.
In this article, you will learn about the procedure of integrating the Gmail SMTP Integration on your bot, so follow the steps written below for quick and easy integration.

1. Configure Gmail SMTP?
Step# 1:
Log in to your Google account with your login credentials. First, enter your email address and click on Next button.

Now, input your login password and click on the Next button again.

Step# 2:
Now, you need to make sure that your Google account is well protected to avoid any intervention when using the SMTP service; therefore, we recommend enabling the 2-step verification offered by Google. If you have already enabled the 2-step verification, then you may jump to Step# 3.
Note: You may get invalid password error in further steps when validating your email if you do not enable the 2-step verification.
How to enable 2-step verification?
Step (Ⅰ):
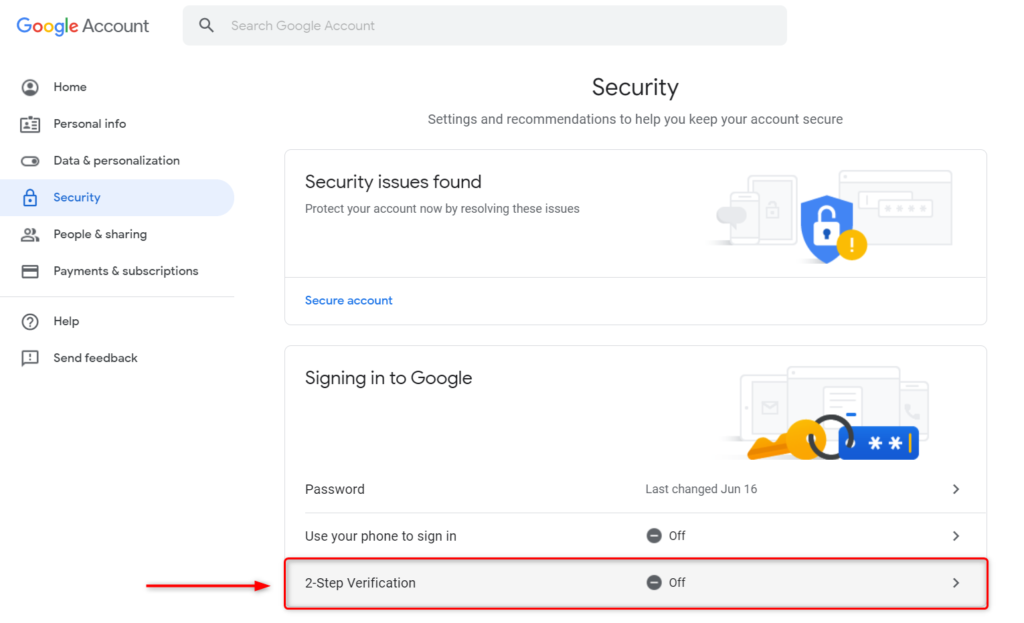
Log in to your Google account with your login credentials and click on the Security option from the left navigation bar.

Step (Ⅱ):
Now, click on the 2-Step Verification option from the given choices and complete the further setup of enabling the 2-step verification.
Hide this answer
Step# 3:
Now, you need to generate an App Password which will be used as well for the SMTP integration, so Click Here to visit the Google App Passwords page to generate an App Password.
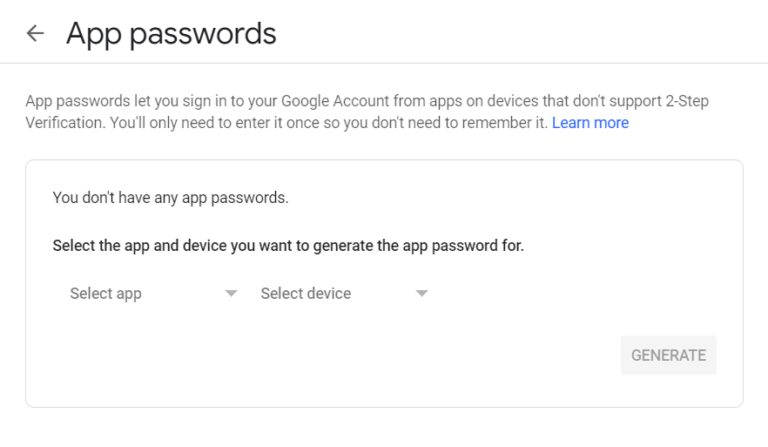
Then, select app from the drop-down choice and choose Other (Custom name).

Give any name of your choice to your App password and click on GENERATE button. In this example, we are naming this app password as Business email.
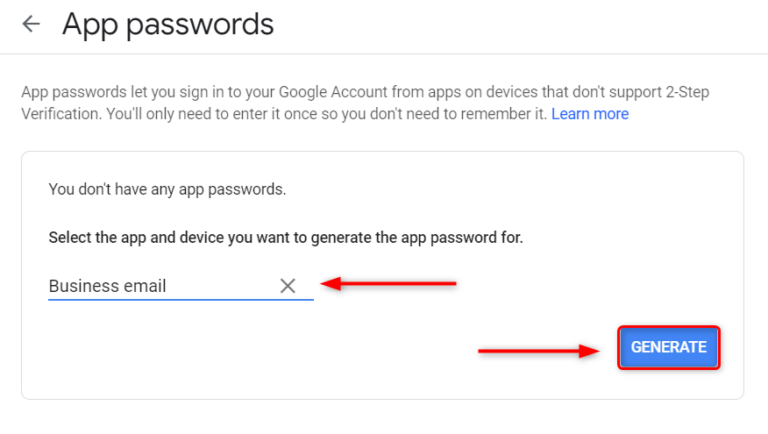
Once the app password is generated, you need to save it for later.

2. Settings to Send Email in AhaChat
Go to Settings > Integration, enter the parameters and click Save to finish:
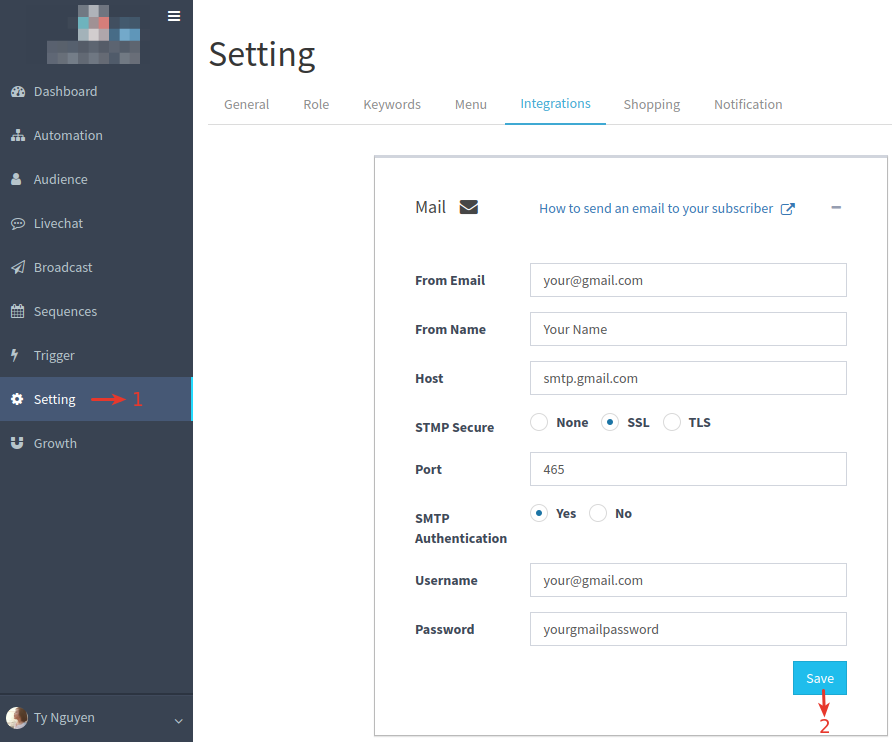
- From Email — Enter sender’s email address (e.g., [email protected]).
- From Name —Enter sender's name (e.g., AhaChat).
- Host — smtp.gmail.com.
- SMTP Secure — SSL or TLS.
- Port — Input 465 (SSL) or 587 (TLS) as SMTP port.
- SMTP Authentication — Yes.
- Username — Enter your Account's email (e.g., [email protected]).
- Password — Enter your App password.
3. Create a Flow to Send Email in AhaChat
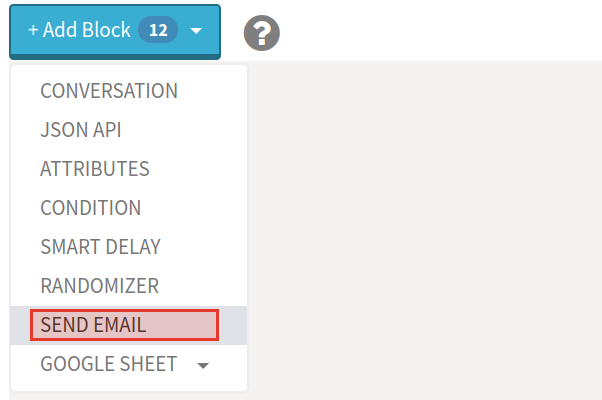
Go to the Automation menu, create a Flow, then select the SEND EMAIL block
Fill in the following information
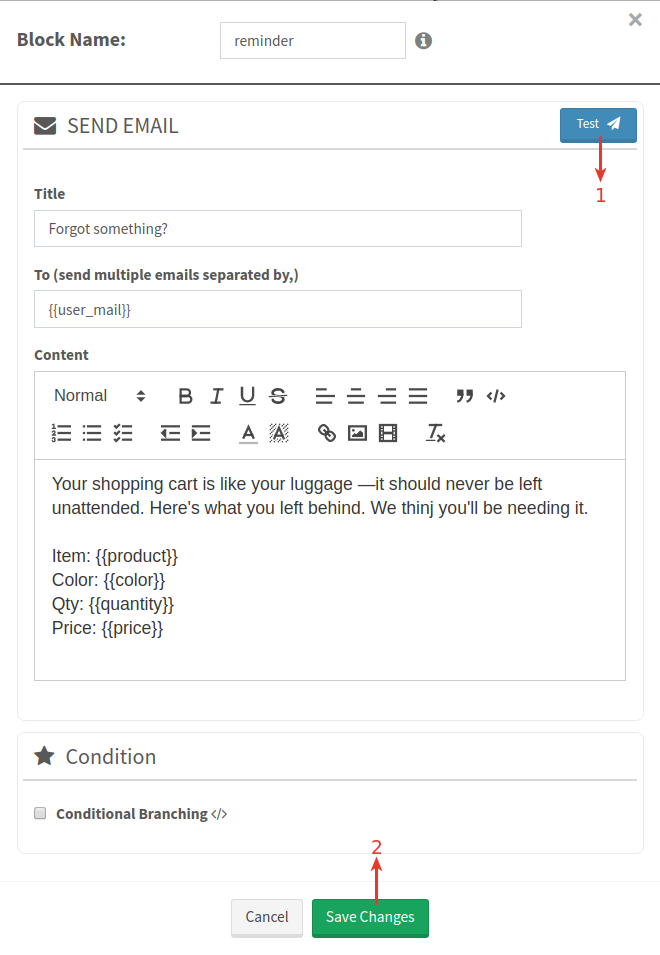
- Title — Email subject.
- To — Email address of a recipient or recipients separated by ",". Note that recipient will not know this email sent to other recipients.
- Content — Email content. You can insert Attributes, Images, Videos and URL to engage customers.